Acclimate Tissue-Culture Bucephalandra to an Emersed Terrarium
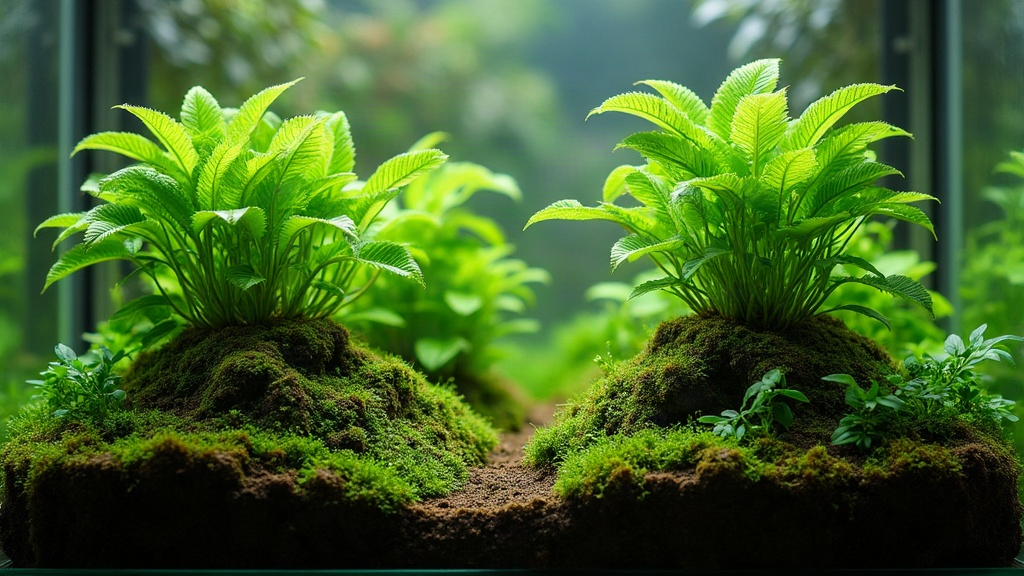
Acclimating tissue-culture Bucephalandra to an emersed terrarium means weaning sterile, lab-grown plantlets off a sugar-rich agar diet and getting them used to real soil, real air, and real light, without frying their delicate tissue in the process. Do it right over 2-4 weeks and you end up with melt-resistant Bucephalandra that actually adapts to emersed life faster than wild-collected or mature aquatic specimens. Sounds counterintuitive, but it’s true.
Why Tissue-Culture Bucephalandra Needs Special Handling
Tissue-culture (TC) Bucephalandra spends its early life in a sterile flask sitting on agar gel, bathed in high humidity and artificial light. The leaves it grows in there are thin, basically cuticle-free, and have never once dealt with airflow, fungal spores, or a humidity swing. Drop these plantlets straight into an open terrarium and you’ll almost certainly see:
- Rapid leaf melt or browning
- Fungal or bacterial rot at the rhizome
- Transplant shock that stalls growth for weeks
Acclimation isn’t just “getting it wet.” It’s teaching the plant to grow a protective cuticle and a working root system under actual conditions, not lab conditions.
Step 1: Clean the Plantlets Thoroughly
Before anything touches your terrarium substrate:
- Open the flask or tissue-culture cup and gently remove all plantlets.
- Rinse the roots and rhizome under lukewarm, dechlorinated water to remove all agar residue. Leftover sugar gel is basically a dinner invitation for fungus and algae.
- Trim any obviously damaged or yellowing leaves, but leave healthy green growth intact.
- Optionally dip the rhizome in a diluted (0.5%) hydrogen peroxide solution for 30-60 seconds as a mild antifungal rinse, then rinse again.
Step 2: Create a High-Humidity Transition Chamber
Resist the urge to plant straight into your display terrarium. Set up a small transition container first:
- A clear plastic deli cup or propagator tray with a lid
- Damp sphagnum moss or a thin layer of aquatic soil as substrate
- Mist the inside walls so humidity sits near 95-100%
- Low to moderate indirect light (skip the direct terrarium LEDs for now)
Nestle the rhizome into the moss with roots lightly covered, but keep the rhizome itself mostly exposed. Bury it fully and it rots, almost every time.
Step 3: Gradual Humidity Reduction (The Key Step)
This is where most people blow it by rushing. Stretch this over 2-4 weeks:
- Week 1: Keep the lid fully closed. Mist daily if condensation starts dropping.
- Week 2: Prop the lid open 1-2 cm for a few hours a day, then close it back up.
- Week 3: Leave the lid cracked open most of the day, only closing it overnight.
- Week 4: Remove the lid entirely, but park the plant in a humid microzone (near a waterfall wall, a misting line, or a dense moss patch) inside the main terrarium.
Pay attention to the new leaves, not the old ones. Old in-vitro leaves browning and dropping off is completely normal, almost expected. What actually matters: are the leaves emerging during this stretch thicker, darker green, more rigid? That’s your sign a real cuticle is forming.
Step 4: Placement in the Terrarium
Once it’s hardened off:
- Mount the rhizome on hardscape (wood, rock) using thread or a glue-free fixation method instead of burying it. Bucephalandra is epiphytic/lithophytic by nature, it wants to grip a surface, not sit in dirt.
- Pick a spot with filtered light. Full-intensity LED exposure right after acclimation can scorch tender new leaves in a day or two.
- Keep ambient humidity in the surrounding zone at 70-85% for the first month after transfer.
Common Mistakes to Avoid
- Rushing the humidity drop. Causes sudden leaf collapse, sometimes overnight.
- Burying the rhizome in substrate. Leads to rot within days, not weeks.
- Using tank water straight from the display. Introduces competing algae and bacteria before the plant has any defenses of its own.
- Expecting fast growth. Bucephalandra is naturally slow. Even a perfectly acclimated plant takes 4-8 weeks before you see real, vigorous new leaf production.
Signs Acclimation Was Successful
- New leaves are glossy, firm, and noticeably thicker than the original TC leaves
- Root growth is visible, anchoring to the hardscape
- No new melt or browning after week 3
- Rhizome stays firm and green, never soft or translucent
Conclusion
Acclimating tissue-culture Bucephalandra to an emersed terrarium comes down to patience: gradual humidity reduction, careful rhizome placement, and judging progress by new growth instead of mourning the old leaves. Skip the shortcuts. A slow, staged transition spread across several weeks beats a rushed job every single time, and what you end up with is a resilient, terrarium-ready Bucephalandra that keeps rewarding you with steady growth for years.