Why Are Water Droplets Forming Under My Drainage Layer?
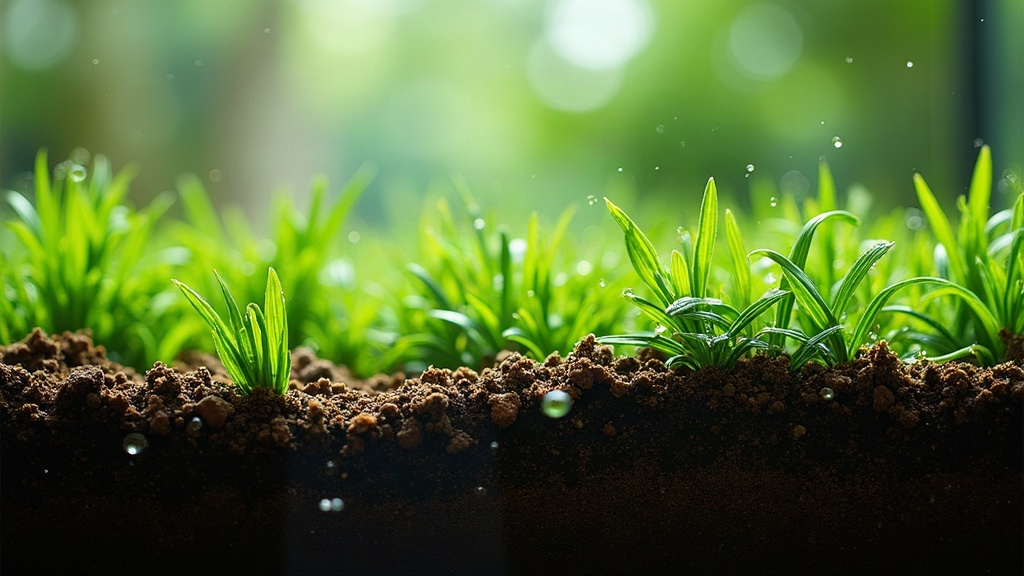
Water droplets collecting under your terrarium’s drainage layer usually mean one of two things. Either the system is doing exactly what it’s designed to do and excess water is pooling where it should, or your drainage layer is too shallow, poorly sloped, or sitting under a lid that’s trapping more humidity than your setup can actually process. Most of the time it’s not a disaster. But it’s worth figuring out which situation you’re in before algae and anaerobic pockets turn a normal feature into an actual problem.
What the Drainage Layer Is Supposed to Do
In a bioactive or closed terrarium, the drainage layer (usually LECA, gravel, or lava rock) sits below the substrate and above any false-bottom mesh. Its only job is to give excess water somewhere to go that isn’t sitting against plant roots. Water drains down through the soil, collects in the gaps between the LECA pebbles, and ideally stays below the mesh barrier so roots never sit in standing water.
So yes, water pooling in that layer is the point. The real question is whether it’s staying contained and evaporating out through normal airflow, or building up faster than it can leave.
Common Causes of Excess Water Under the Drainage Layer
1. Overwatering Relative to Tank Size
This is by far the most common cause. If you’re watering on a fixed schedule instead of checking actual moisture with your finger, you can easily add more water than a small enclosed system can process. A 10-gallon closed terrarium just doesn’t need the same volume as an open planter twice its size, yet people often water both the same way out of habit.
2. No Gas Exchange, So Nothing Evaporates
Closed or lightly vented terrariums rely on a condensation cycle: water evaporates, hits the glass, drips back down. If ventilation is too tight, water gets trapped in that bottom layer with nowhere to go. It just keeps accumulating instead of cycling back up into the air.
3. Drainage Layer Is Too Shallow
A thin layer of LECA, say under an inch, fills up fast and has almost no buffer capacity. Once it’s saturated, water either sits visibly pooled or starts wicking up into the substrate above it, which defeats the entire point of having a drainage layer in the first place.
4. Substrate Compaction Blocking Flow
If the soil above has compacted over time (common with peat-heavy mixes), water can’t move through it evenly. It pools in low spots, seeps down unevenly, and you end up with droplets forming in patches rather than a consistent water line across the drainage layer.
5. No Mesh Barrier, So Soil Is Mixing Into the Water
Without a proper false-bottom screen or weed barrier between substrate and drainage layer, fine soil particles slowly migrate downward and settle into the water. This turns clear drainage water cloudy or muddy, and over time it can actually clog the air gaps that let the layer breathe.
How to Tell If It’s Actually a Problem
Check these signs before assuming the worst:
- Water level is visibly rising over days, not staying steady
- Smell: a sour or rotten-egg odor means anaerobic bacteria are setting in, and that’s a real red flag
- Water touching the mesh barrier or soil from below, instead of staying well under it
- Cloudy, murky water instead of clear, which points to soil breaching the barrier
- Roots growing down into standing water and turning mushy or black at the tips
If the water sits clear, stays at a consistent level, and there’s a visible gap of dry drainage material above it, you’re fine. That’s a healthy buffer doing exactly what it’s supposed to.
How to Fix a Waterlogged Drainage Layer
Step 1: Cut Back on Watering Immediately
Stop adding water until the existing pool has a chance to reduce through evaporation or plant uptake. This alone fixes a lot of mild cases within a week or two.
Step 2: Improve Airflow
Crack the lid slightly, or add a few small ventilation points if your enclosure allows it. More air exchange speeds up evaporation and keeps the condensation cycle actually cycling, instead of just piling up at the bottom.
Step 3: Check and Deepen the Drainage Layer
If your layer is under an inch, consider rebuilding the terrarium with a deeper one, roughly 1.5 to 2 inches for most small-to-medium setups. More volume means more buffer before water threatens the substrate above.
Step 4: Add or Replace the Mesh Barrier
If soil is sifting down into your drainage layer, a proper fiberglass mesh or weed barrier fabric cut to size will stop the migration and keep the water clear. It’s a cheap, five-minute fix that saves you a much bigger cleanup later.
Step 5: Drain It Manually If Needed
For setups with a turkey baster or siphon access, physically remove the excess water rather than waiting on evaporation alone. This matters especially if you’ve already overwatered and don’t want to risk root rot while things dry out naturally.
Preventing It Going Forward
- Check moisture with a finger test before every watering, don’t go by calendar schedule
- Build drainage layers to scale with your tank size, not a one-size-fits-all depth
- Always use a mesh or barrier layer between substrate and drainage material
- Glance at the drainage layer through the glass once a week, it’s an easy visual check that takes ten seconds
- If condensation never clears during the day, your ventilation is too tight for how much you’re watering
Conclusion
Water under the drainage layer isn’t automatically bad news. It’s literally what that layer was built to hold. Trouble starts when watering outpaces evaporation, airflow is too restricted, or soil breaches the barrier and clouds everything up. Cut back on watering, improve ventilation, and make sure your drainage layer and mesh barrier are actually sized for your tank. Do that, and the water stays exactly where it’s supposed to: below the roots, not against them.