Best Leaf Litter Mixes for Bioactive Isopod Terrariums Without Mold
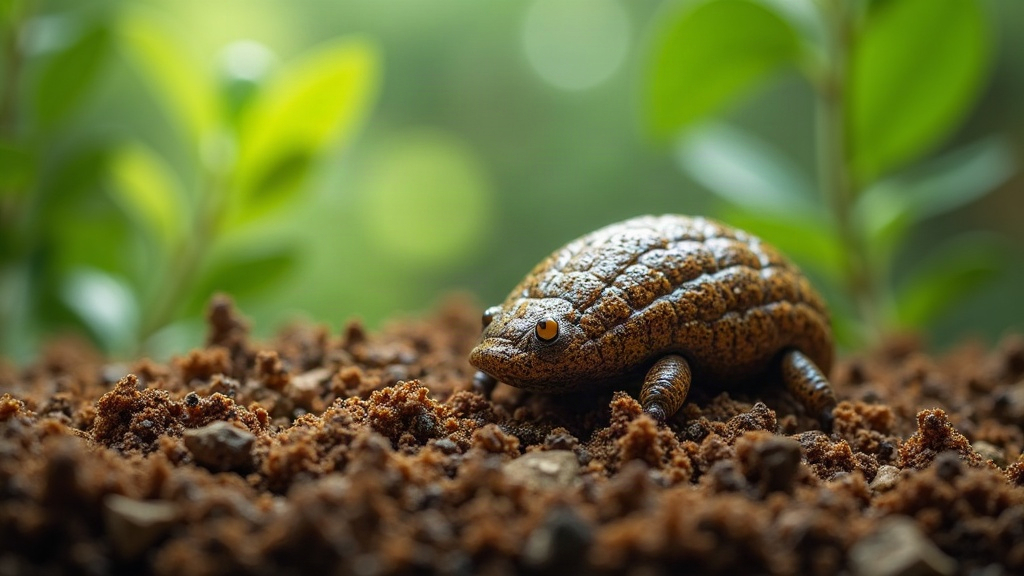
The best leaf litter mixes for bioactive isopod terrariums without mold combine several dry, pesticide-free hardwood leaves with a bit of decayed wood and bark thrown in. A varied, airy leaf layer gives isopods a steady food supply and plenty of shelter, while keeping the substrate from turning into the wet, compacted mess that mold loves.
Why Leaf Litter Matters in an Isopod Terrarium
Leaf litter isn’t just there to make the tank look nice. For species like dairy cows, powder blues, powder oranges, and dwarf whites, decomposing leaves are basically the main course. They also double as hiding spots, hold onto humidity right where the isopods need it, and feed the beneficial microbes that keep a bioactive setup running.
That said, pile on too many wet leaves and you’ll often see fuzzy white mold pop up within days, especially in a tank that’s still settling in. Mold isn’t a sign to panic and rip everything out. It’s usually your enclosure telling you something about airflow, moisture levels, cleanup crew numbers, or how much food is sitting around uneaten.
A good mix uses leaves that break down at different rates. The fast-decaying ones are dinner; the tougher ones keep the whole layer from collapsing into a soggy mat.
The Best Mold-Resistant Leaf Litter Mix
Here’s a blend that works well as a starting point:
- 50% oak leaves
- 25% magnolia leaves
- 15% maple or beech leaves
- 10% dried seed pods, bark pieces, or rotten hardwood
Don’t treat this like a chemistry formula, though. It’s just a practical ratio of edible leaves paired with sturdier stuff that keeps some structure in the litter layer.
Oak Leaves: The Everyday Foundation
Oak is probably the most common choice you’ll see in bioactive isopod setups, and for good reason. The leaves are tough, take their time breaking down, and almost every common isopod species will happily munch on them.
That firmness is exactly what keeps the litter from turning into a damp mat within a week. Make oak your biggest single ingredient, especially in humid tanks where moisture-loving species like dairy cows are the stars.
Magnolia Leaves: Long-Lasting Surface Cover
Magnolia leaves are thick and waxy, almost leathery to the touch, and they can sit on top of your substrate for months without falling apart. That makes them ideal for the top layer.
Because they resist collapsing into wet debris, magnolia leaves earn their keep in tanks that run on the damper side. Isopods often use them as a roof to hide under long before they start eating them, so don’t be surprised if a magnolia leaf looks untouched for weeks.
Maple, Beech, or Birch: Variety and Softer Food
Maple and beech tend to soften up faster than oak or magnolia, which is exactly why they’re useful. They give the colony some dietary variety and make it easier for smaller or younger isopods to get at edible material without waiting for tougher leaves to break down.
Keep these as the smaller slice of the mix, not the whole layer. A bin filled with nothing but thin, fast-decaying leaves can turn mushy and mold-prone surprisingly fast if humidity stays high.
Leaves to Avoid
Skip anything from areas treated with pesticides, herbicides, or road salt, and steer clear of leaves collected near busy roads where vehicle pollution settles into the ground.
Also leave out:
- Evergreen needles, including pine and fir
- Fresh green leaves
- Leaves with visible mildew, black spotting, or any chemical residue
- Strongly aromatic leaves, like eucalyptus
- Walnut leaves, unless you’ve got solid, species-specific guidance saying otherwise
Dry hardwood leaves from an untreated backyard, a nearby woodland, or a reputable reptile supplier are usually your safest bet.
How to Prepare Leaf Litter Safely
Wild-collected leaves can carry mites, hitchhiking insects, mold spores, and pesticide residue you can’t see. Preparation cuts down that risk considerably, though it won’t undo actual chemical contamination, so start with clean sources.
Dry and Sort the Leaves
Pick leaves that fell naturally and are already dry. Give them a shake to knock off dirt, and toss anything that feels wet, slimy, smells off, or shows obvious disease.
Skip freshly fallen green leaves entirely. Their moisture content is still high, which is basically an invitation for microbial growth and can throw off the whole enclosure’s balance.
Heat-Treat or Freeze if Needed
Most keepers rely on one of three methods before adding wild leaves to a tank:
- Bake dry leaves at a low temperature, around 200°F (93°C), for 20 to 30 minutes.
- Pour boiling water over the leaves, then let them dry out completely before use.
- Freeze the leaves for several days to knock out any hitchhiking insects.
Baking is the easiest option, but keep an eye on the oven since dry leaves can scorch faster than you’d think. Boiling works well too, just make sure everything is bone-dry afterward. Tossing damp leaves straight into the enclosure is one of the most common reasons keepers see a sudden mold bloom overnight.
How Much Leaf Litter Should You Add?
Aim to cover most of the substrate, but keep the layer loose and uneven rather than packed flat. For a standard 10-gallon isopod bin, two to four generous handfuls of mixed leaves is a reasonable starting point.
Resist the urge to press everything down into a tight blanket. Layer it loosely instead, and top it off with a couple of larger magnolia or oak leaves. Leave a few gaps here and there so you can actually see the substrate underneath and check moisture or spot leftover food.
Top up the litter gradually as the colony eats through it. A steady, small supply beats dumping in one giant damp pile and hoping for the best.
Preventing Mold Beyond the Leaf Mix
Even a well-balanced leaf mix won’t do much good if the rest of the enclosure works against it.
Create a Moist and Dry Side
Most isopods do best with a moisture gradient rather than uniform dampness everywhere. Keep one side soaked and the other only lightly damp. That gives the colony options and stops the entire leaf layer from sitting waterlogged.
Pour water into one corner of the substrate instead of misting the whole tank every day. Daily misting wets leaves from the top down and is one of the easiest ways to trigger mold without meaning to.
Add Springtails
Springtails earn their place in a bioactive tank by cleaning up mold, decomposing matter, and tiny leftover food particles before they ever become a real problem.
They won’t rescue a tank with standing water or chronic overfeeding, but a healthy springtail population makes a noticeable difference over the long run.
Feed Conservatively
Isopods will happily eat vegetables, fish food, calcium supplements, and the occasional protein treat, but anything left sitting around molds fast. Offer small portions and clear out whatever’s uneaten within 24 to 48 hours.
Leaf litter and decaying hardwood should still be doing most of the feeding work. Extra food is best kept as an occasional bonus, not a daily habit.
Improve Ventilation Carefully
Stagnant air feeds mold, but overdoing ventilation dries the enclosure out fast. Open up a small vent first and watch how the tank responds over the next few days before making bigger changes.
If the substrate dries out too quickly after that, cover part of the vent with breathable tape or shrink the opening a bit. You’re going for gentle air exchange, not turning the tank into a desert.
What to Do If Mold Appears
Small patches of white mold showing up in a new bioactive terrarium are pretty normal and rarely a real threat. Pull out any heavily moldy food or leaves, ease up on watering, and let the springtails clean up the rest.
Take it more seriously if mold keeps coming back across the enclosure, gives off a sour smell, or shows up alongside soggy substrate. In that case, swap out the wettest litter, check for drainage issues, and cut back on extra feeding until things stabilize.
Conclusion
A mixed leaf layer built around oak, magnolia, and a smaller share of softer hardwood leaves gives isopods what they actually need: food, cover, and a stable place to live. Keep the surface dry, maintain that moisture gradient underneath, bring in springtails, and don’t overfeed. Do that, and you can keep mold in check without stripping out the natural materials your colony depends on.