Advanced Terrarium Ventilation Design for Cabinet Displays
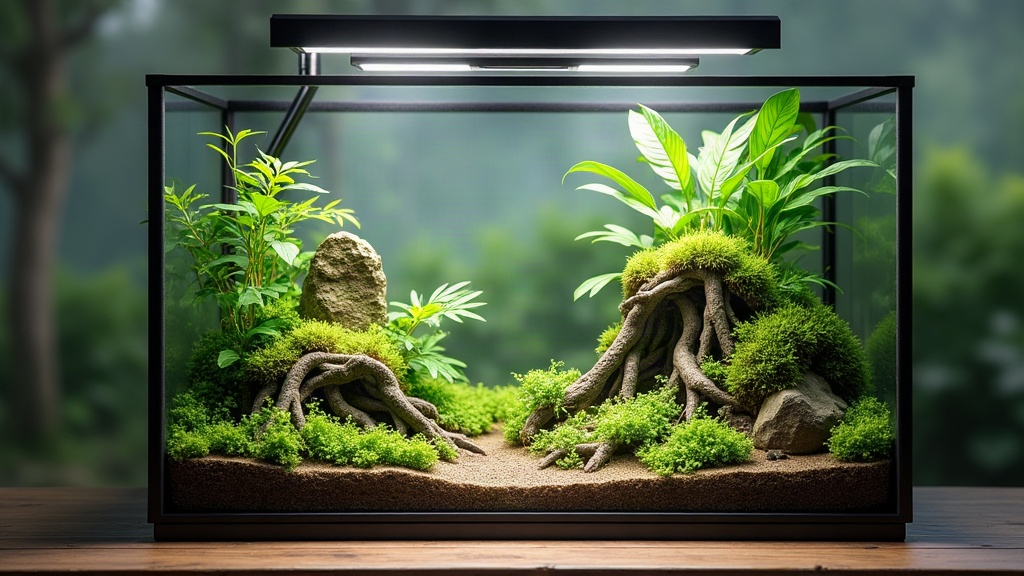
Large cabinet-style terrariums look stunning on day one. Then, three weeks in, you notice a faint sour smell near the bottom shelf and a dusting of mold creeping across the cork bark. That’s almost always an airflow problem, not a watering problem. Stagnant air inside a tall enclosure breeds mold, fungus gnats, and rot fast, and most people blame humidity levels when the real culprit is the lack of a planned air path. Advanced terrarium ventilation design for large cabinet displays means engineering intentional airflow zones, intake, circulation, exhaust, rather than drilling a few random holes and hoping for the best. This guide walks through how to plan, build, and tune ventilation for cabinets 24 inches and larger.
Why Standard Ventilation Fails in Large Cabinets
A small terrarium, say under 12 gallons, can usually coast along with a mesh lid and the occasional misting. Cabinet builds don’t play by those rules:
- Volume-to-surface ratio drops. A 4-foot cabinet traps far more air per square inch of opening than a small tank does, so passive diffusion alone just can’t move enough air through the space.
- Microclimates form. The top shelf bakes dry while the substrate at the bottom stays soggy, because warm moist air rises and has nowhere good to go, so it never really recirculates.
- Glass doors trap condensation. Cabinets with mostly sealed front panels (common in furniture-style builds) create dead air pockets behind the foliage, right where you can’t see them.
Black mold on wood décor, a slimy smell coming off the substrate, leaf spot showing up only on the lower plants… airflow is the common thread, not how often you’re watering.
The Three-Zone Ventilation Model
Builders who actually get bioactive and plant displays right stop thinking in terms of “a vent” and start designing around three zones.
1. Intake (Lower Zone)
Fresh, cooler air needs to enter low, ideally near substrate level on one side of the cabinet. A few things that work well:
- 1-2 inch mesh-covered holes (stainless or fiberglass mesh; skip standard window screen, it corrodes fast in humidity)
- Louvered vents if you need to keep direct light from leaking into a planted display area
2. Circulation (Mid Zone)
This is the zone almost everyone skips, and it’s arguably the one that matters most in a large build:
- Mount one or two small computer-style fans (40-60mm, 5V or 12V, rated for continuous duty) mid-cabinet, angled so they pull air across the foliage instead of blasting leaves directly
- Put the fans on a cycle timer, say 10 minutes on, 20-30 minutes off, instead of running them nonstop. Constant airflow will dry out moisture-loving species like mosses and ferns in a hurry
3. Exhaust (Upper Zone)
Warm, humid air needs somewhere to escape above the intake point, which sets up a natural convection loop:
- Size exhaust vents at roughly 1.5x the total intake area, since warm air expands as it rises
- Keep exhaust vents away from direct plant foliage, otherwise you’re venting your humidity gradient right out above the canopy plants that need it most
Passive vs. Active Ventilation: Which Do You Need?
| Factor | Passive (mesh/vents only) | Active (fan-assisted) |
|---|---|---|
| Cabinet size | Under 30 gallons | Over 30 gallons / tall cabinets |
| Plant type | Hardy tropicals, succulents in dry setups | Mosses, orchids, high-humidity ferns |
| Door style | Mostly open mesh top | Glass-front sealed cabinets |
| Maintenance tolerance | Low (hands-off) | Medium (check fans/timers) |
Most cabinet displays over 3 feet tall with glass doors need active ventilation, full stop. A mesh top alone rarely moves enough air through a tall, narrow silhouette, there’s just not enough pressure differential to pull it off passively.
Practical Build Specs
For a typical 48” x 24” x 72” plant display cabinet:
- 4-6 intake vents (1 inch each) along the lower front or side panel
- 2 mid-level 50mm fans on a mechanical or smart plug timer
- 6-8 exhaust vents near the top back panel, offset from the intake so air is forced diagonally across the entire cabinet instead of taking a short vertical shortcut
- Optional but worth doing: a hygrometer near the top shelf and another near the bottom, so you can confirm you’re not seeing more than a 10-15% RH swing from top to bottom
Common Mistakes to Avoid
- Vents placed directly across from each other — air takes the shortest path possible and skips most of the enclosure entirely
- No timer on the fans — continuous airflow will collapse humidity for plants like Selaginella or jewel orchids within days
- Ignoring door seals — a cabinet that seals too tightly undoes all your vent planning; leave a small gap or add a vent near the door frame
- Using corrosion-prone metal mesh — plain steel mesh rusts out within months in a humid cabinet, no exceptions
Final Thought
Ventilation in a large cabinet terrarium was never really about adding more holes. It’s about designing a deliberate path for air: cool air entering low, gentle circulation moving through the mid-canopy, warm moist air exiting high. Pair passive intake and exhaust vents with a timed, low-speed fan setup, and you’ll end up with a stable humidity gradient, one that lets moisture-loving understory plants and drier upper-canopy species share the same display without the mold and rot that plague poorly vented cabinets.