How to Transport a Planted Terrarium Safely During a Move
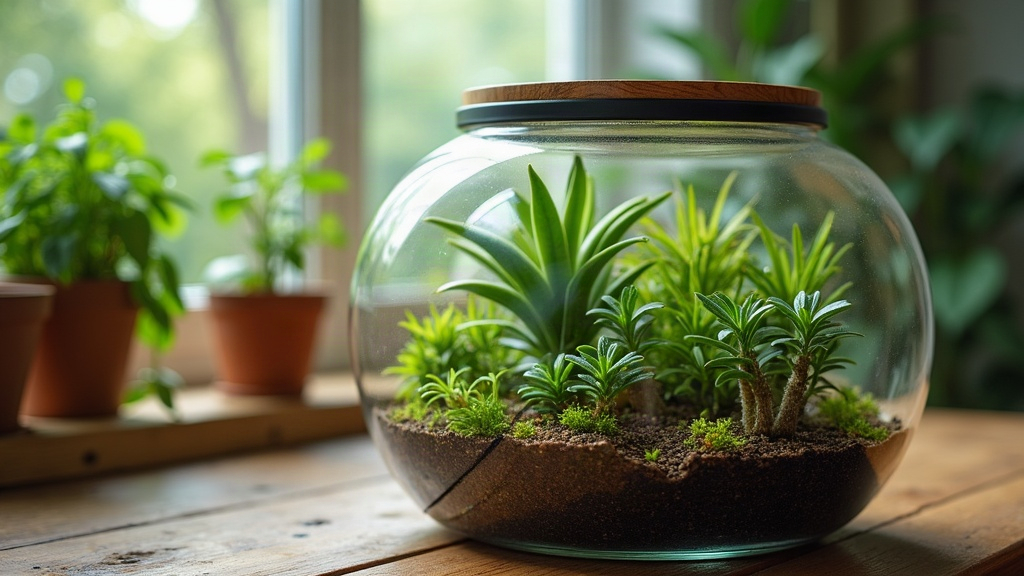
Moving a planted terrarium long-distance is trickier than it looks. You’re juggling three fragile things at once: a glass container, living plants, and a moisture balance that took weeks to dial in, all while it rattles around in a truck for hours or even days. The safest bet is to temporarily take the terrarium apart, move the plants and container separately, and rebuild everything once you’ve landed at the new place. Try to move it fully intact and you’re almost guaranteed spilled substrate, crushed stems, or a cracked glass wall somewhere along the way.
Here’s a step-by-step method that works whether you’re driving twenty minutes across town or shipping the thing across three states.
Why You Shouldn’t Move a Terrarium Fully Assembled
A closed or open terrarium is really just a mini ecosystem stacked in careful layers: gravel, charcoal, soil. During transport, that whole structure comes under attack:
- Vibration mixes the layers together, burying roots or exposing the drainage stones underneath.
- Glass cracks easily once weight starts shifting and pressing against the walls.
- Trapped humidity combined with temperature swings inside a hot truck can trigger mold or straight-up plant shock.
- Loose moss, pebbles, or tiny figurines turn into little projectiles, scratching glass or bruising plants.
Unless your setup is genuinely tiny (under 6 inches) and sparsely planted, break it down first. It’s not worth the gamble.
Step 1: Prepare a Few Days Before Moving Day
- Water lightly 2-3 days ahead of the move, never the day of. Soggy soil is heavier, messier, and far more likely to shift.
- Trim anything overgrown so plants take up less room and don’t snap during handling.
- Snap a few photos of the layout. You’ll want this reference when rebuilding.
- Gather your supplies: small containers or zip bags, paper towels, bubble wrap, a spray bottle, and one sturdy box.
Step 2: Remove the Plants
Lift each plant out gently, root ball and all, using a spoon or a chopstick to loosen the soil first. Don’t just yank the stem; roots tear more easily than you’d think.
- Wrap the roots in a damp, not dripping, paper towel.
- Give each plant its own small sealed bag or container so nothing crushes or tangles together.
- Keep moss and small cuttings separate and labeled. Moss dries out fast, faster than most people expect, so it needs a bit more moisture held in.
Step 3: Pack the Substrate and Hardscape Separately
- Pour soil, sand, or substrate into a sealable container or heavy-duty bag. Don’t pack it tight; leave breathing room so it doesn’t compress into a solid brick.
- Wrap rocks, driftwood, and decorative pieces individually in paper or bubble wrap.
- Label every single thing (“drainage layer,” “top soil,” “moss,” “decor”). Trust me, future-you will thank present-you when it’s time to rebuild.
Step 4: Protect the Empty Container
- Clean and fully dry the glass or acrylic enclosure before boxing it.
- Wrap it in moving blankets or several thick layers of bubble wrap, paying extra attention to corners and edges (that’s where cracks start).
- Set it upright in a box just slightly bigger than the container, then fill every gap with packing paper so nothing can shift in transit.
- Mark the box clearly: “FRAGILE, GLASS, THIS SIDE UP.”
Step 5: Keep Plants Alive During Transit
- Store the plant bags inside a cooler bag or insulated box. This buffers against heat or cold, which matters a lot in a hot trunk or an unheated truck overnight.
- Making a trip longer than 24 hours? Mist the paper towels again partway through so roots don’t dry out.
- Keep sealed bags out of direct sun. Condensation builds up fast inside plastic and can essentially cook delicate leaves.
- Flying or shipping? Check the airline or carrier’s rules first. Live plants usually need to ride in the cabin as carry-on, not in cargo or checked luggage.
Step 6: Rebuild Promptly at Your New Home
The moment you arrive, don’t let the box sit for days. Get to it:
- Set the container down on a stable, level surface.
- Rebuild the drainage layer, then charcoal, then substrate, in that order.
- Reposition the hardscape using your reference photos from Step 1.
- Replant the greenery, firming the soil gently around each root ball.
- Mist generously, then let everything settle in indirect light for a few days before going back to your normal watering routine.
What If the Move Is Only a Few Hours?
Short local move? You might get away with keeping a small terrarium fully assembled, as long as you:
- Tape the lid shut with painter’s tape.
- Wedge the container snugly into a box, padded with towels or packing paper so it physically cannot shift.
- Keep it upright and bring it in the car with you, never in the moving truck.
Common Mistakes to Avoid
- Watering heavily right before the move. Wet soil shifts around more and molds faster.
- Skipping the labels. Reassembly turns into guesswork, and your plants sit stressed longer than they need to.
- Leaving bagged plants in a hot car. Even 30 minutes can wilt something delicate like fittonia or moss beyond recovery.
- Forgetting ventilation. If plants will be sealed in bags for more than a couple hours, poke a few small air holes first.
Conclusion
A planted terrarium can absolutely survive a long-distance move. The trick is taking it apart, protecting the plants and substrate on their own, and getting it rebuilt fast once you’ve arrived. Spend an extra hour or two prepping before moving day and you’ll skip the shattered glass and dead plants scenario entirely. Do it right, and your little ecosystem bounces back in days, not weeks.