Building a First Terrarium With Nerve Plant Cuttings From the Store
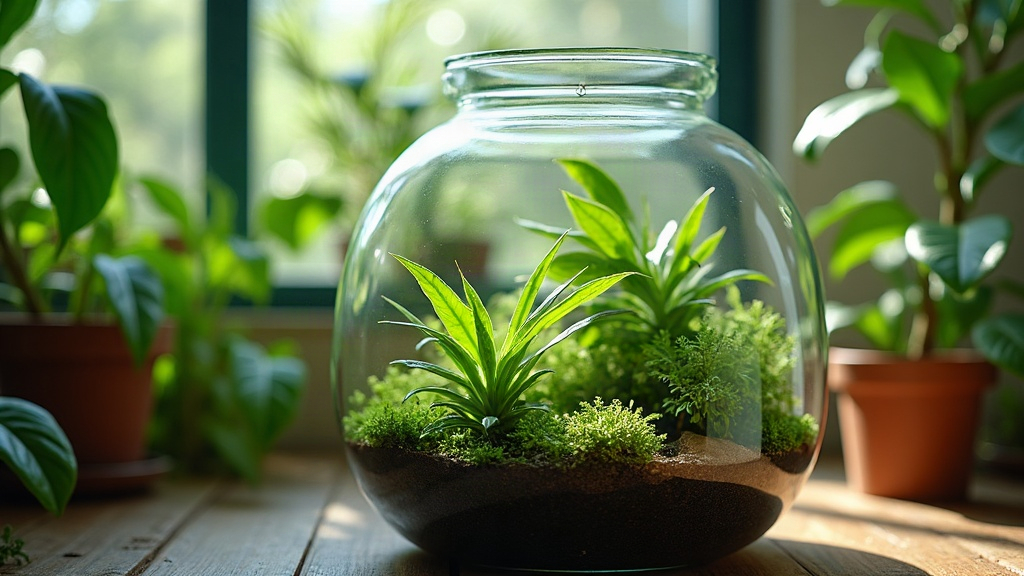
Building a first terrarium with nerve plant cuttings from a grocery store plant is one of the cheapest and most forgiving ways to get into indoor gardening. One small fittonia, the kind sitting on a shelf in the houseplant aisle next to the succulents, can give you six or more cuttings. That’s plenty to fill a glass jar terrarium that’ll keep going for months without you touching it much at all.
Here’s the full process, from picking the right plant off the shelf to keeping the finished terrarium alive for the long haul.
Why Nerve Plants Are Perfect for Beginner Terrariums
Nerve plants (Fittonia albivenis) are almost tailor-made for terrariums. A few reasons why:
- They love humidity, which is exactly what a closed terrarium provides
- They stay compact and low to the ground, so they won’t bust out of a jar in a month
- They root fast from stem cuttings, whether in soil or water
- Their veining (pink, white, or red) looks genuinely striking once it’s magnified behind glass
- They’re cheap. Expect to pay somewhere between $4 and $8 at a grocery store, hardware store, or garden center
Their biggest flaw out in the open is how dramatically they wilt the moment soil dries out. Inside a sealed, humid terrarium, that flaw basically disappears.
What You’ll Need
- One small nerve plant (whatever variety your store happens to carry)
- A clear glass container with a lid or wide mouth: a mason jar, an old cookie jar, a fishbowl, even a retired aquarium
- Small pebbles or gravel for drainage
- Activated charcoal (aquarium-grade is fine)
- A thin layer of sphagnum moss or a coffee filter
- Potting soil, ideally a light, peat-based mix
- Clean scissors or small shears
- Optional extras: decorative stones, extra moss, tiny figurines if you want to get whimsical with it
Step 1: Take Your Cuttings
Pick a plant with a few healthy, upright stems. With clean scissors, snip off 2 to 3 inch sections, cutting just below a leaf node (that small bump where leaves sprout, and the exact spot new roots will emerge from).
Strip the bottom leaf or two off each cutting so the node is exposed. From there you’ve got two routes:
- Root in water first: Drop the stems in a small glass on a windowsill and wait 1 to 2 weeks for roots to show up.
- Plant directly in the terrarium: Fittonia roots so readily that a lot of people skip the water step entirely and just push the cuttings into moist soil.
If this is your first build, skip the water glass. Direct planting is simpler and nearly as reliable.
Step 2: Build the Terrarium Layers
Layering isn’t decorative, it’s functional. Without it, you’re basically growing roots in a swamp with nowhere for excess water to go.
- Drainage layer: 1 to 2 inches of pebbles or gravel at the bottom.
- Charcoal layer: A thin scattering of activated charcoal to keep the water from turning sour.
- Barrier layer: A coffee filter or a bit of sphagnum moss, so your soil stays put instead of sifting down into the gravel.
- Soil layer: 2 to 3 inches of light potting soil, enough for the roots to actually grab onto.
Step 3: Plant the Cuttings
Use a pencil or chopstick to poke holes into the soil, spacing them roughly an inch apart. Slide each cutting in so the bare node is covered and at least one set of leaves stays above the surface. Press the soil gently around the base of each stem.
Water lightly, just enough to dampen things, not drench them. This is where most beginners slip up: a closed terrarium recycles its own moisture, so overwatering here causes problems down the line.
Step 4: Place and Seal
Find a bright spot with indirect light. Direct sun through glass acts like an oven and will cook the plants fast, so avoid windowsills that get hit with full afternoon sun. An east-facing window is usually a safe bet.
If your container has a lid, leave it cracked for the first week so roots can settle in. Once you notice a steady, gentle condensation cycle (fog in the morning, clear glass by afternoon), go ahead and seal it up.
Caring for Your Finished Terrarium
- Water: Rarely. Maybe once every few weeks, or whenever that condensation cycle stops showing up.
- Light: Bright and indirect, nothing more.
- Pruning: Snip back any stems that get leggy to keep things tidy; the trimmings can be replanted somewhere else.
- Too much condensation? Crack the lid for a day and let some moisture out.
- No condensation showing up? Give it a light mist of water.
Common Problems and Fixes
- Mold on the soil surface: Usually a sign of excess moisture or leftover organic debris. Scrape off the mold and vent the lid for a day.
- Yellowing leaves: Nine times out of ten, that’s overwatering. Stretch out the time between waterings.
- Leggy, stretched-out stems: Move the terrarium somewhere brighter and pinch back the new growth.
Conclusion
A nerve plant terrarium might be the most budget-friendly, satisfying project you can start in indoor gardening. Grab one grocery store plant, a spare jar sitting in your cupboard, spend about twenty minutes putting it together, and you end up with a self-sustaining little ecosystem that only needs watering a handful of times a month. Once you’ve got the layering technique down, it transfers straight over to ferns, pothos, and pretty much any other humidity-loving houseplant, so it’s a skill worth picking up early.